Click here to show step by step images
How to add beautiful graphics to your silkscreen in Mentor Graphics PADS
For some reason Mentor Graphics PADS does not make it very easy for you to add graphics to the silk screen of your PCB: The process has historically been quite tedious, involving porting bitmap images to the proprietry ASCII format. But No More! I shall describe here how to create beautiful vector graphics on your silk screens with minimal fuss.
To do this I shall use:
That is all.
If your graphics are not already in a vector-graphic format, don't panic! Inkscape includes a vectorizor for converting bitmap formats.
I am using Mentor Graphics PADS 9.3.
So, lets get cracking:
- To set up the software:
- Download inkscape from Sourceforge and install, noting the location of the installation.
- Save the files eggbot_hatch.inx and eggbot_hatch.py to the folder share/extensions in the inkscape installation directory. If the share/extensions folder doesn't exist, create it.
- To create the image file:
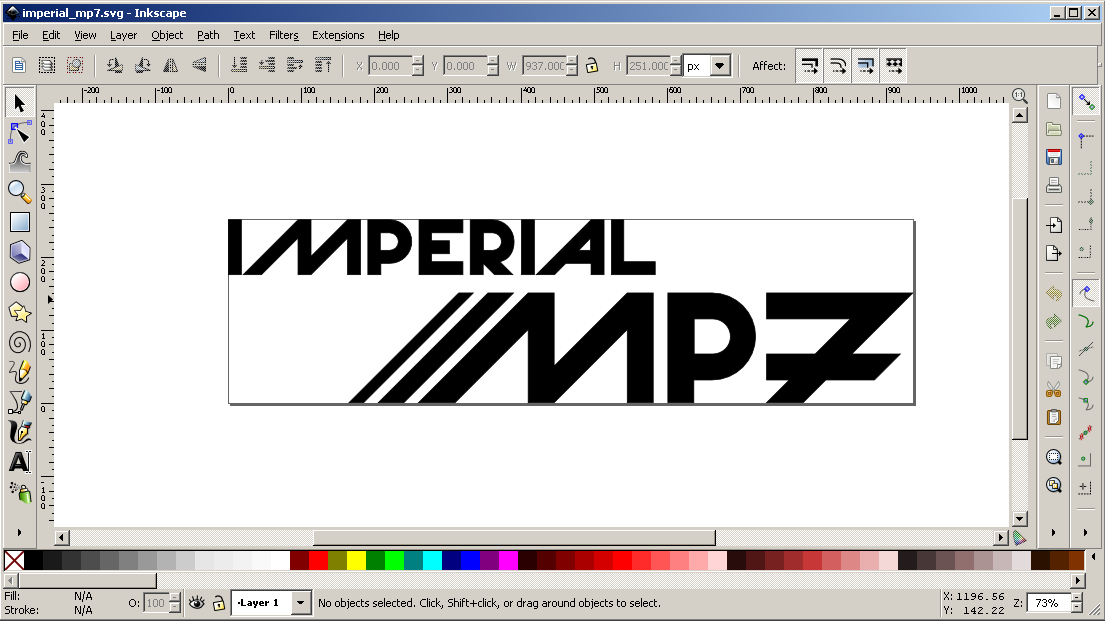
- Open your vector graphic file with Inkscape
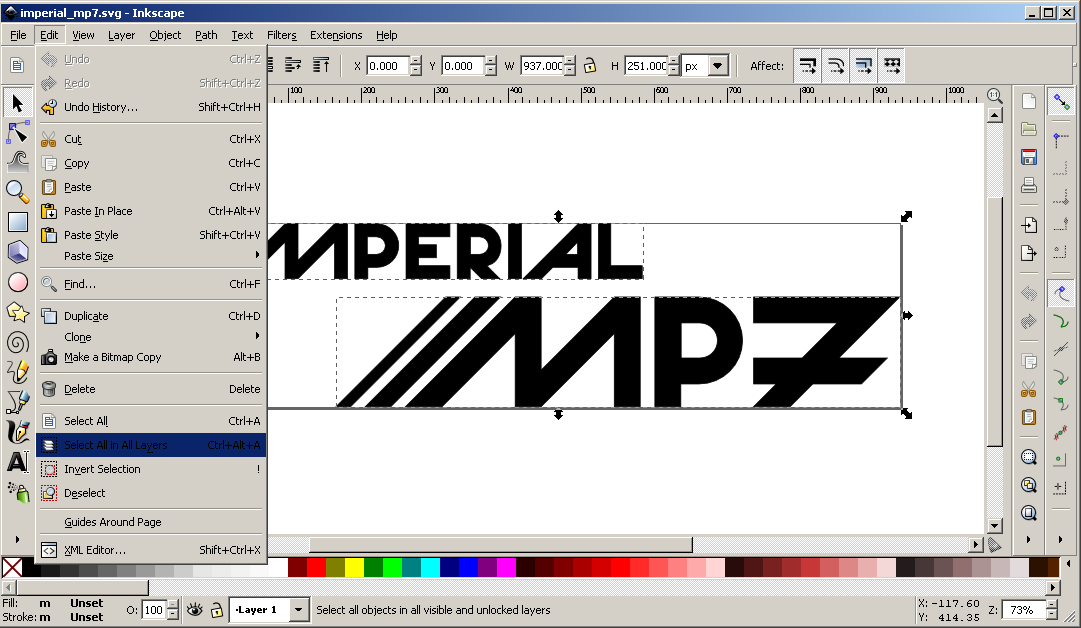
- Select everything with "Edit - Select all in all layers" or CTRL+ALT+A.
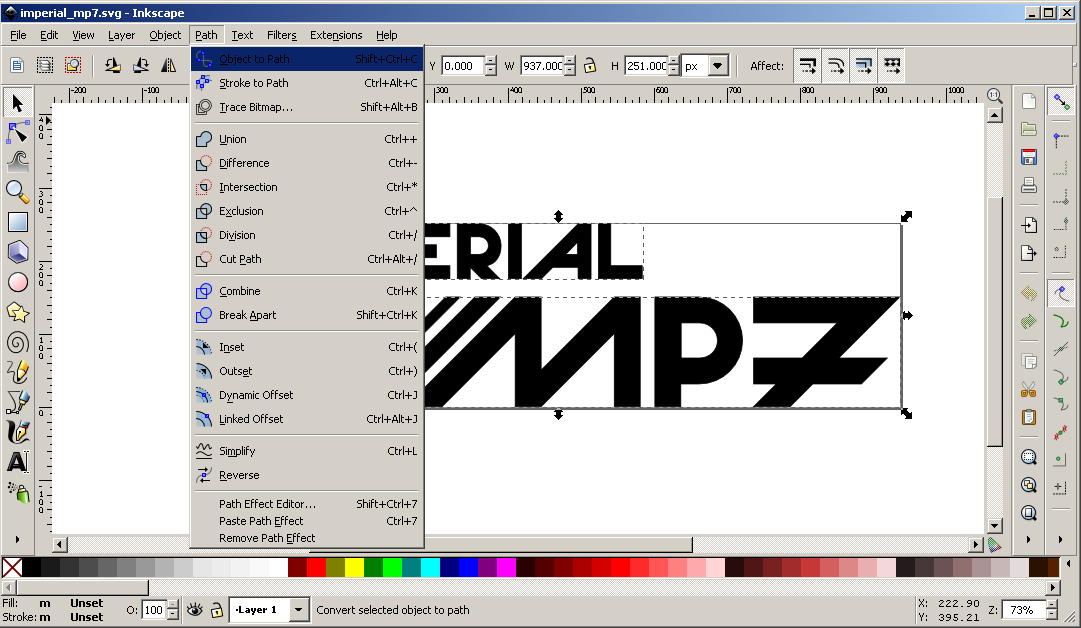
- Convert everything to paths (just in case they aren't already) with "Path - Object to path" or SHIFT+CTRL+C..
- Combine all paths into one (just in case they aren't already) with "Path - Combine" or CTRL+K..

- If the above step did not remove all the fill regions, do so manually..
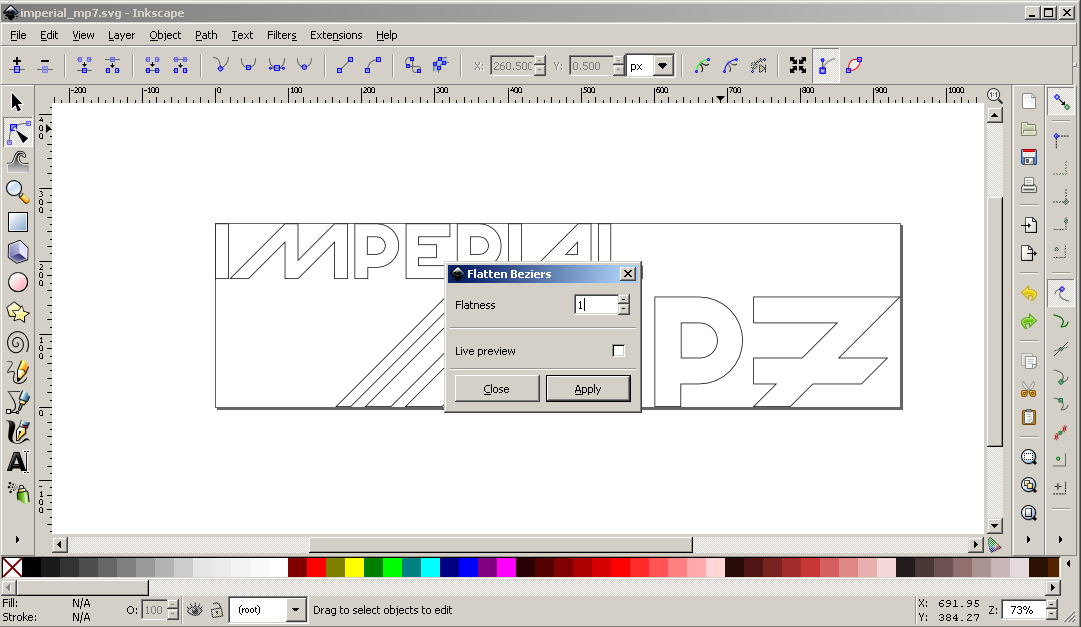
- DXF files do not like curved Beziers. To flatten the Beziers, make sure the path is selected and navigate to "Extensions - Modify Path - Flatten Beziers"..
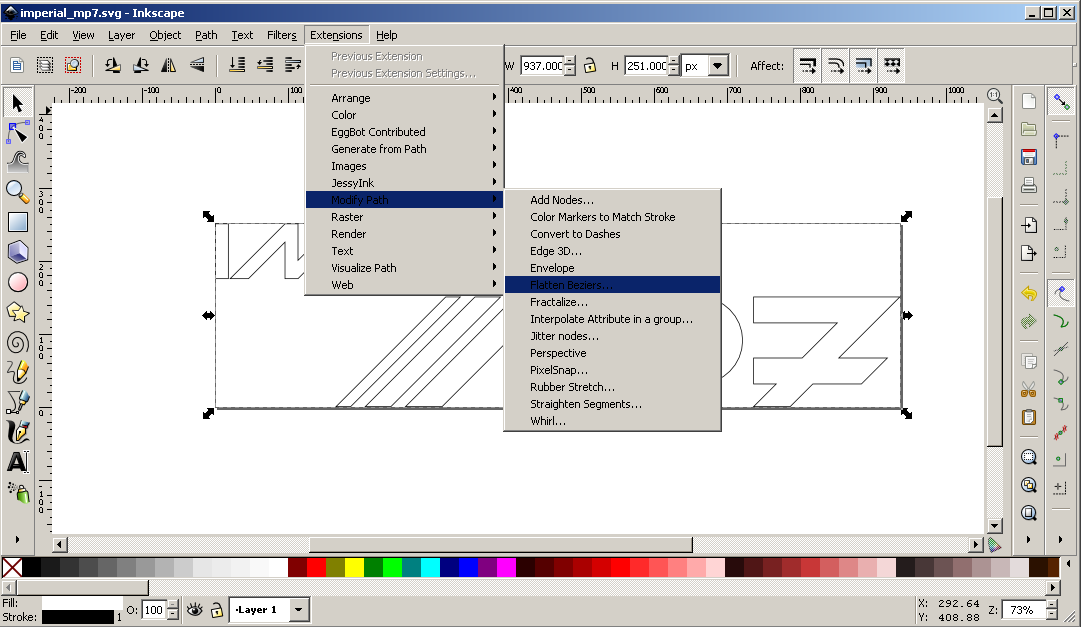
- Reduce flatness to 1 and hit "Apply". If this still introduces too many distortions, undo, make the number smaller and try again..
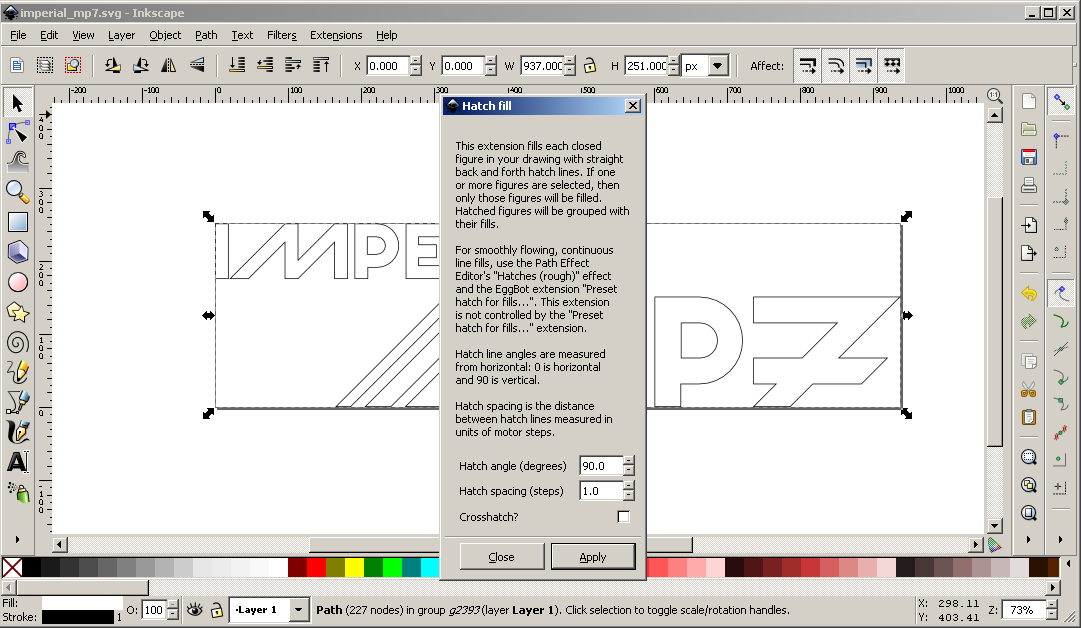
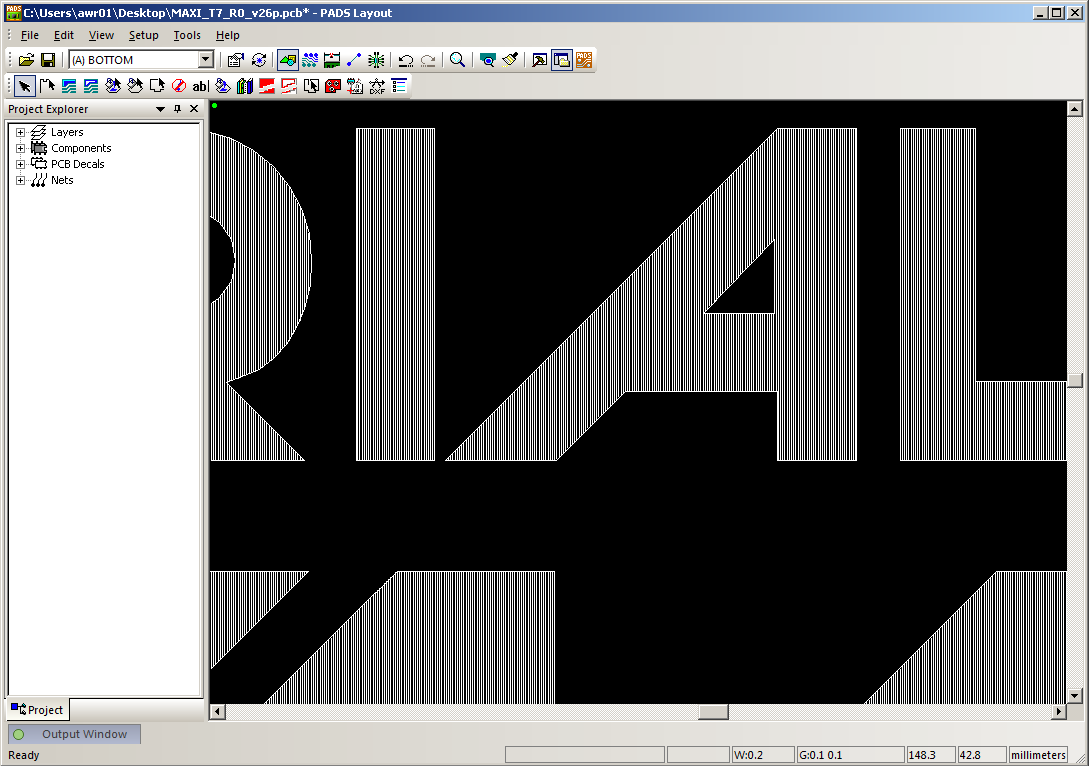
- To fill your logo again, we cannot use a standard fill, DXF files do not like this. Instead we must hatch. Navigate to "Extensions - EggBot contributed - Hatch Fill"..

- Reduce the hatch spacing to 1.0 and hit "Apply" and then "Close". Your logo should now be filled again..
- Navigate to "File - Save as".
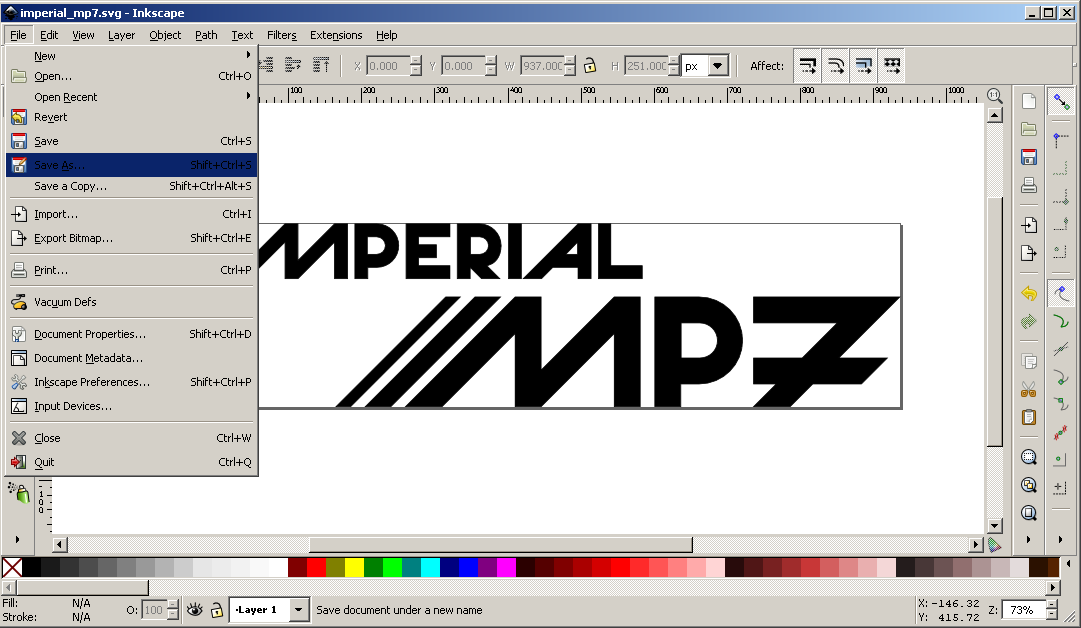
- From the drop-down "Save as type menu", select "Desktop Cutting Plotter (R13)(*.dxf)"..
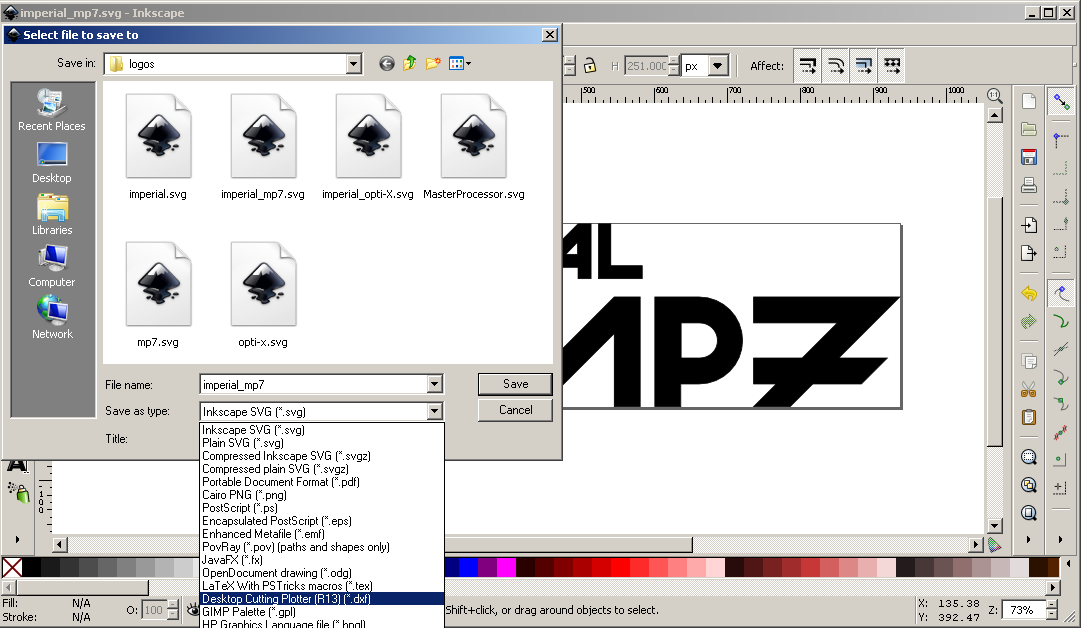
- Deselect both tick boxes and hit "OK".
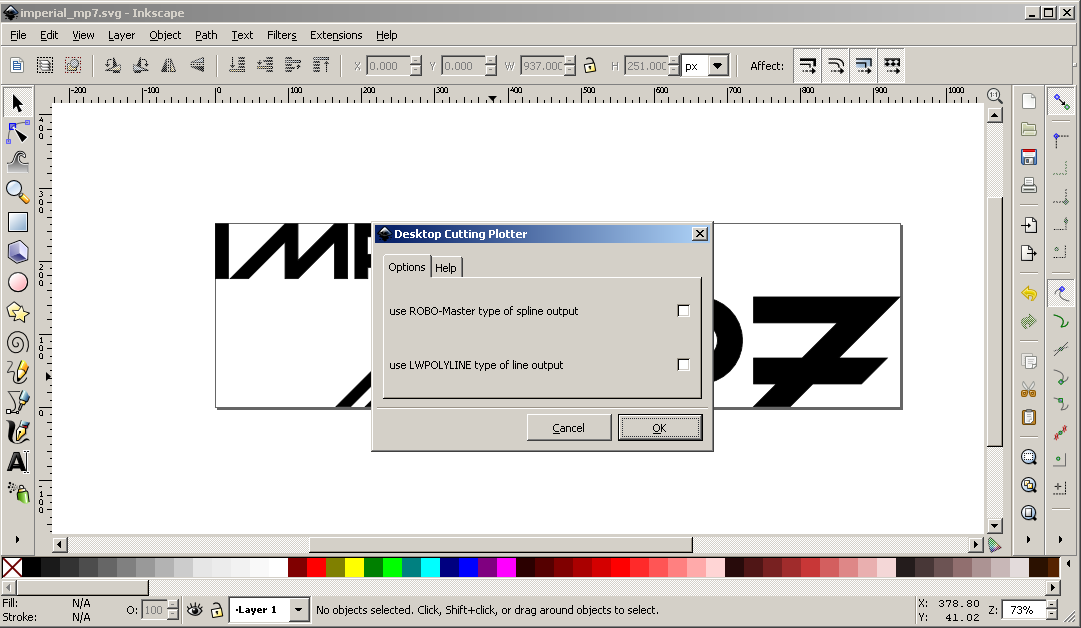
- You can now close Inkscape. It will warn you that the DXF file will lose information - it may also be worthwhile saving your logo in Inkscape SVG file format, atleast until you are sure that you are happy with the final result
- To import the image into Mentor Graphics PADS:
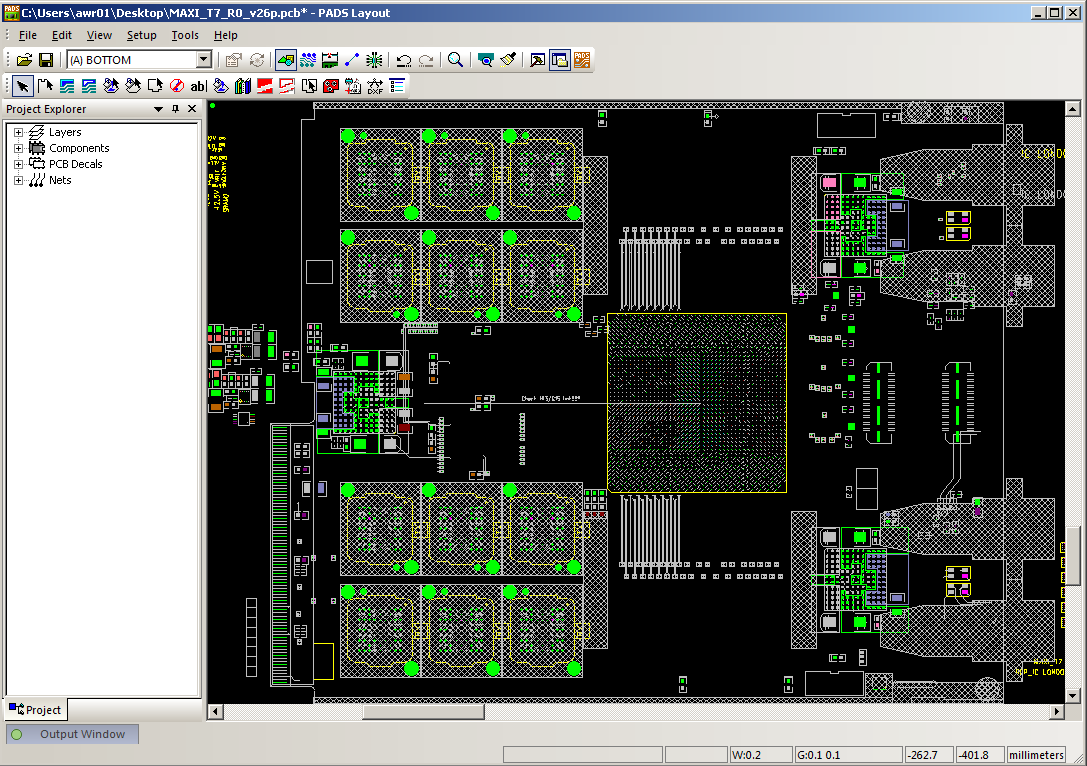
- Open your board design in PADS layout.
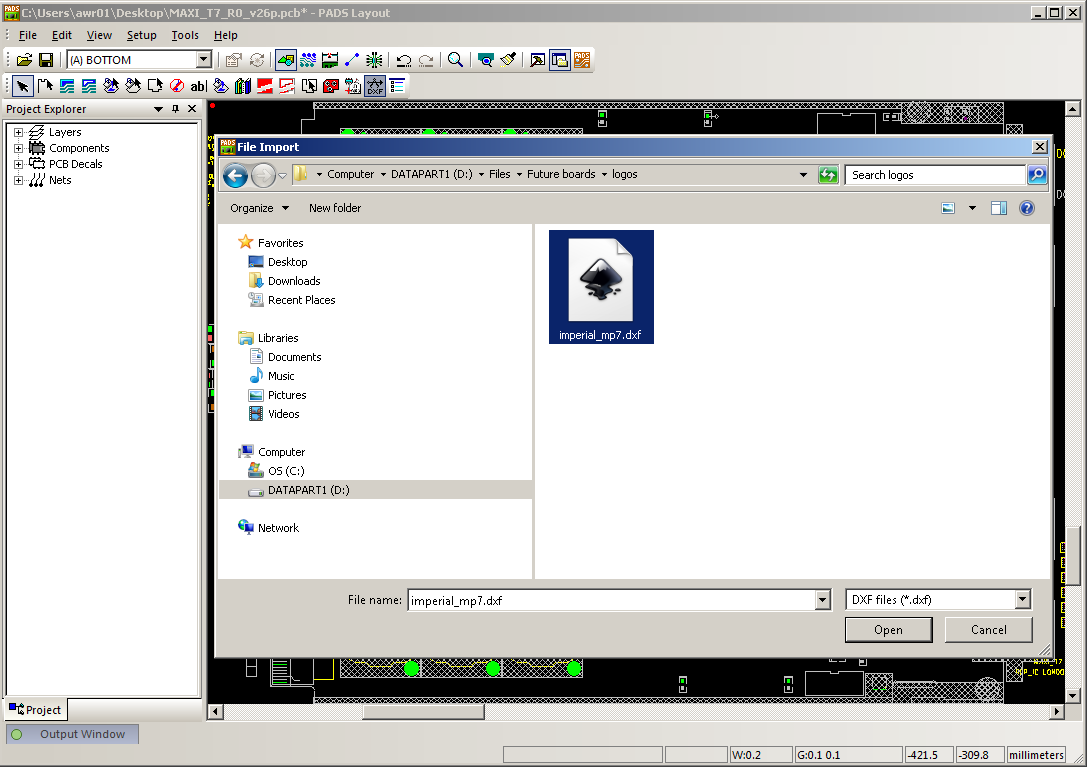
- Select "Import DXF file" from the "Drafting Toolbar".
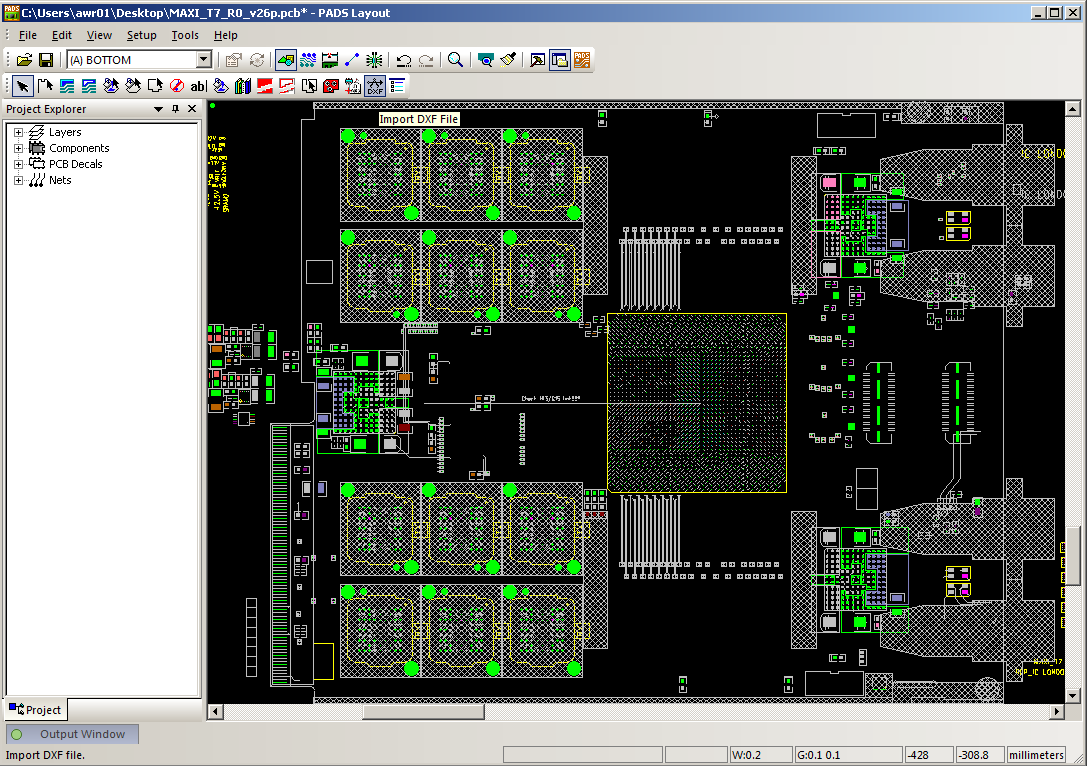
- Select your image DXF file and hit "Open".
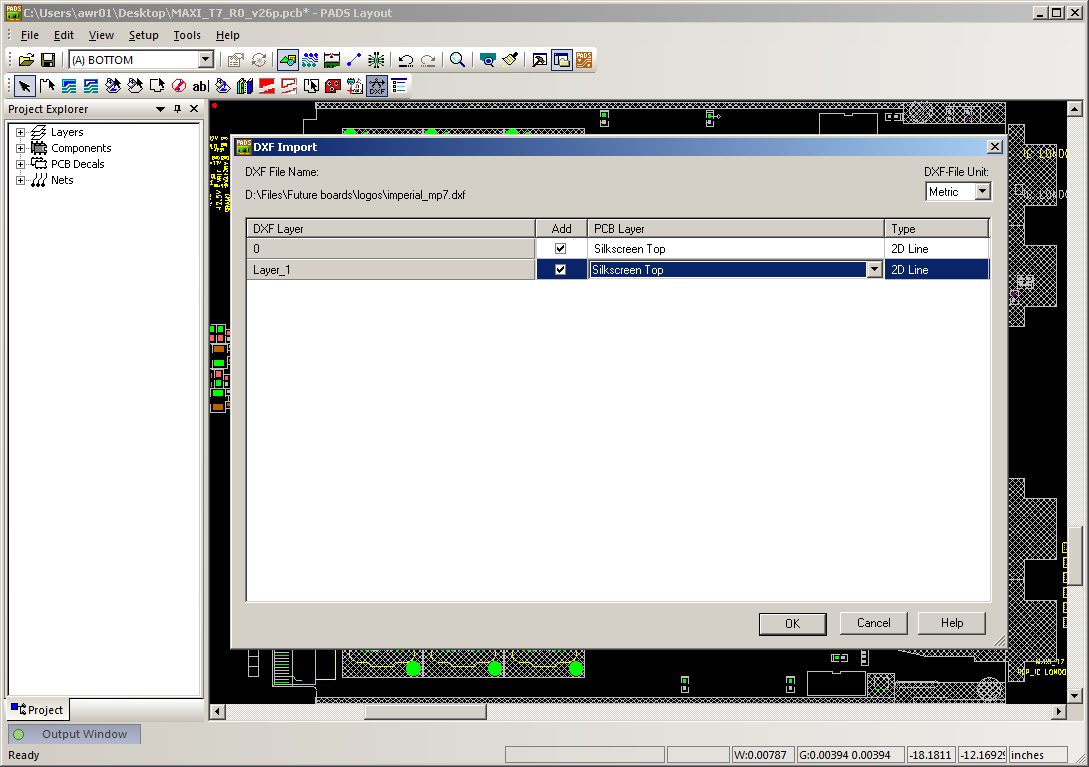
- In the Pop-up box, convert "DXF-File Unit" to "Metric" and set the "PCB Layer" to "Silkscreen Top" (or bottom if you want the logo on the bottom of the board). Hit "OK".
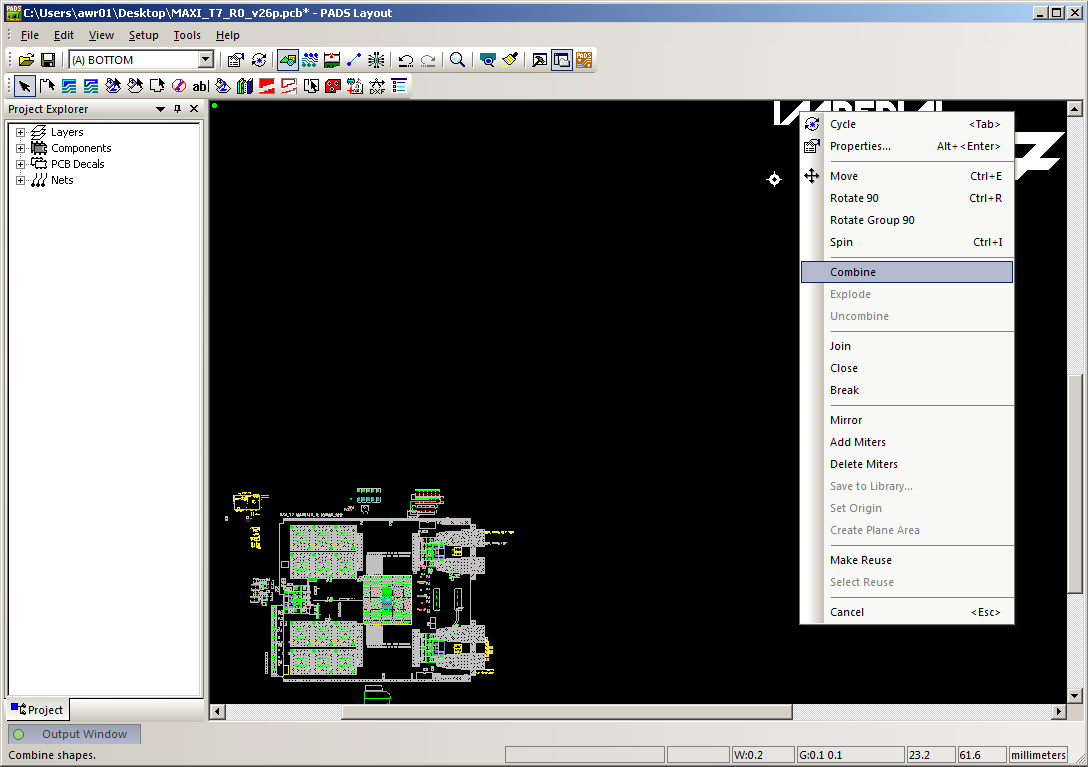
- The logo may end up in a random location but this is ok.

- Drag a box around the logo to select all the lines, right click and select "Combine". If the graphic is large or complicated, it may disappear for a few moments but be patient! It will reappear!
- The logo can now be treated as any other object - it can be moved and rotated.
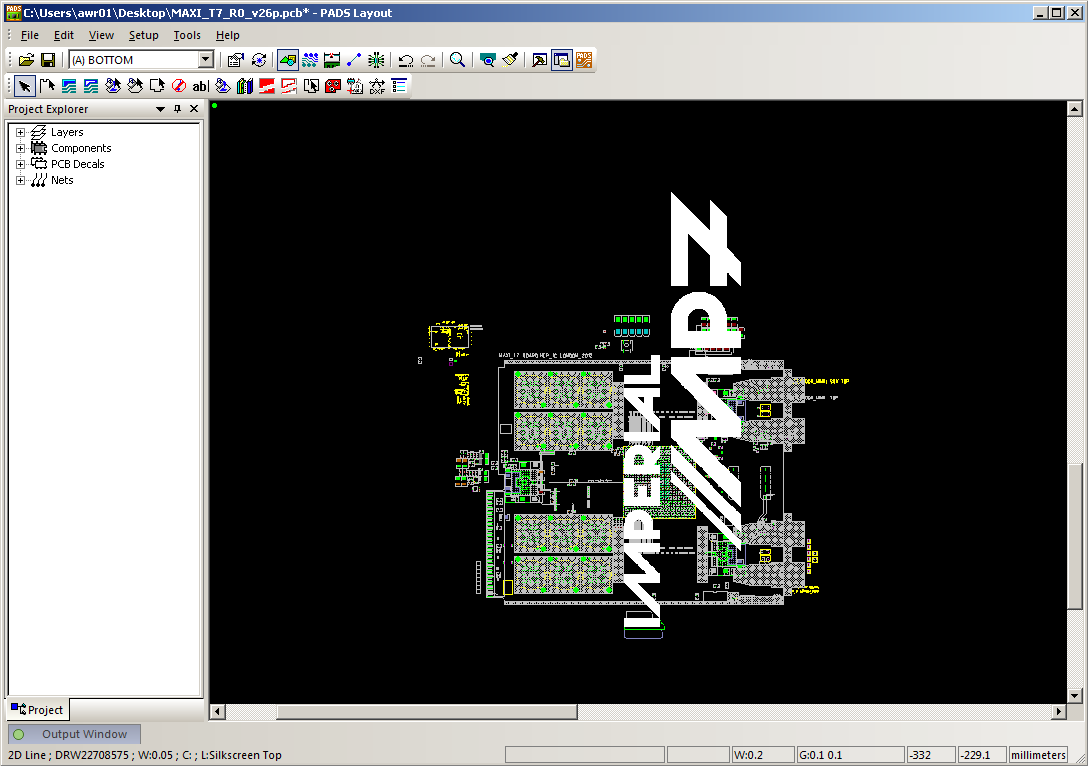
- Right click on the logo and select "Properties". Change the scale (here to 0.14) and hit "Apply".
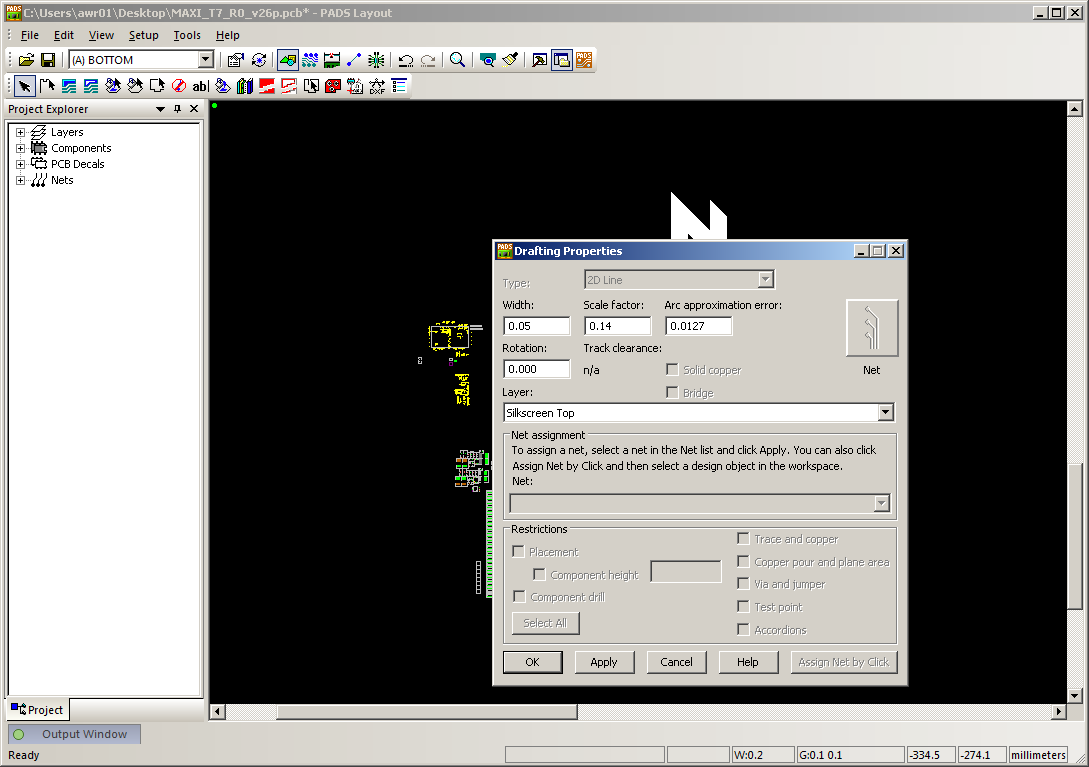
- Note that if you zoom in on the logo, you may still see the hatching lines. If this is the case, increase the "Width" in the "Properties" dialogue.
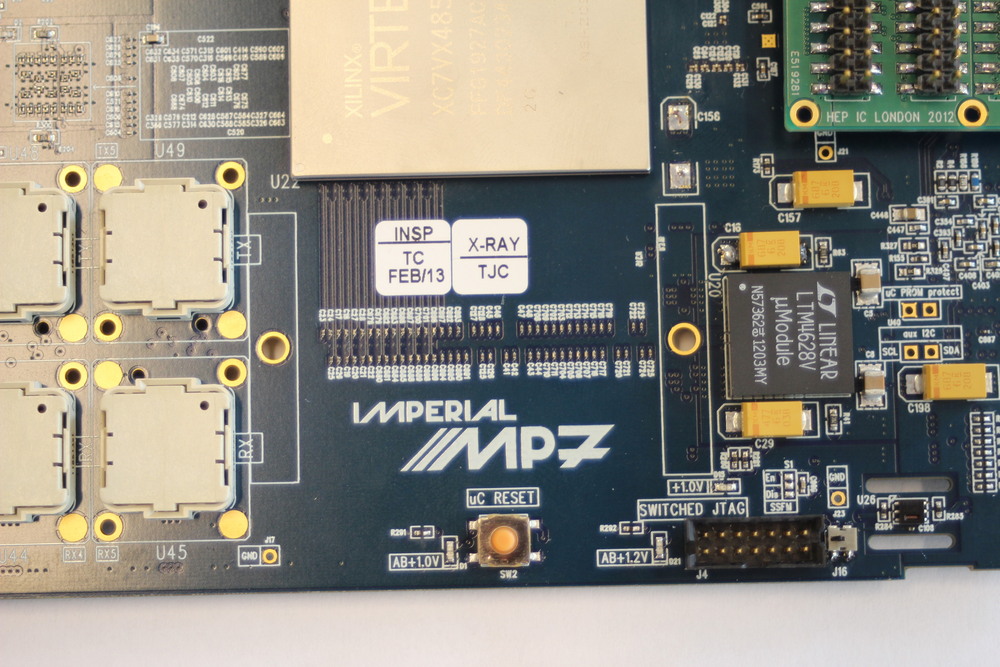
- Voila! A beautiful vector graphic logo on your Silkscreen.
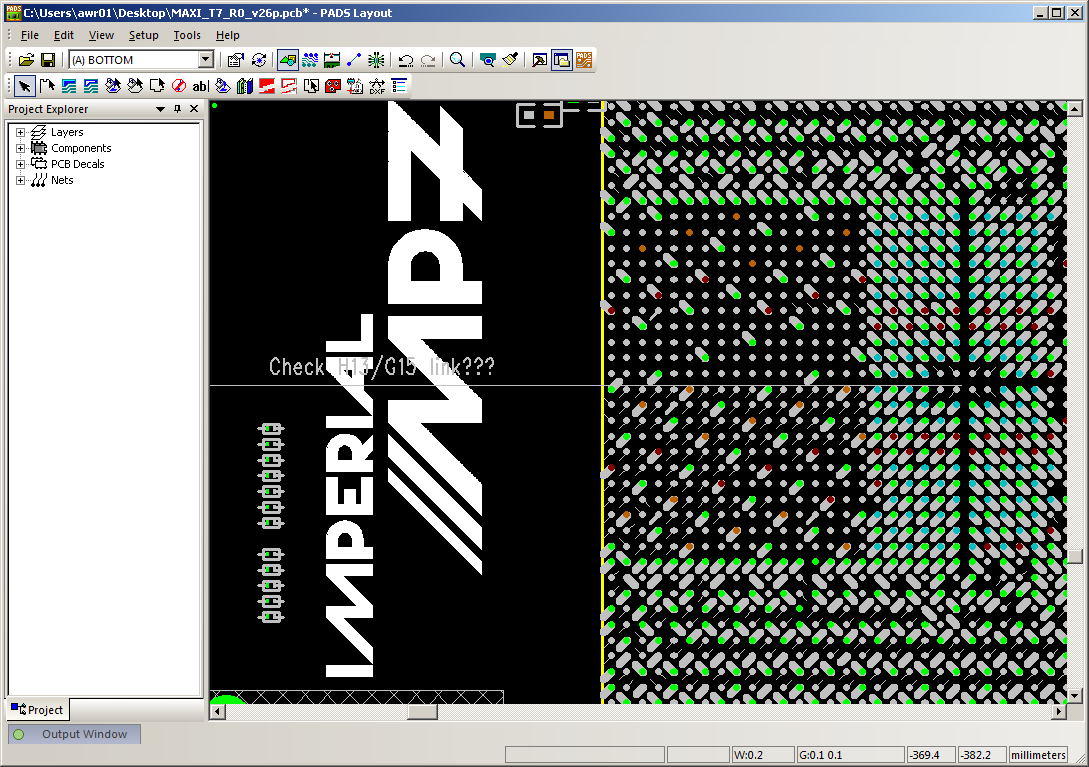
- ... and, finally, the finished product.